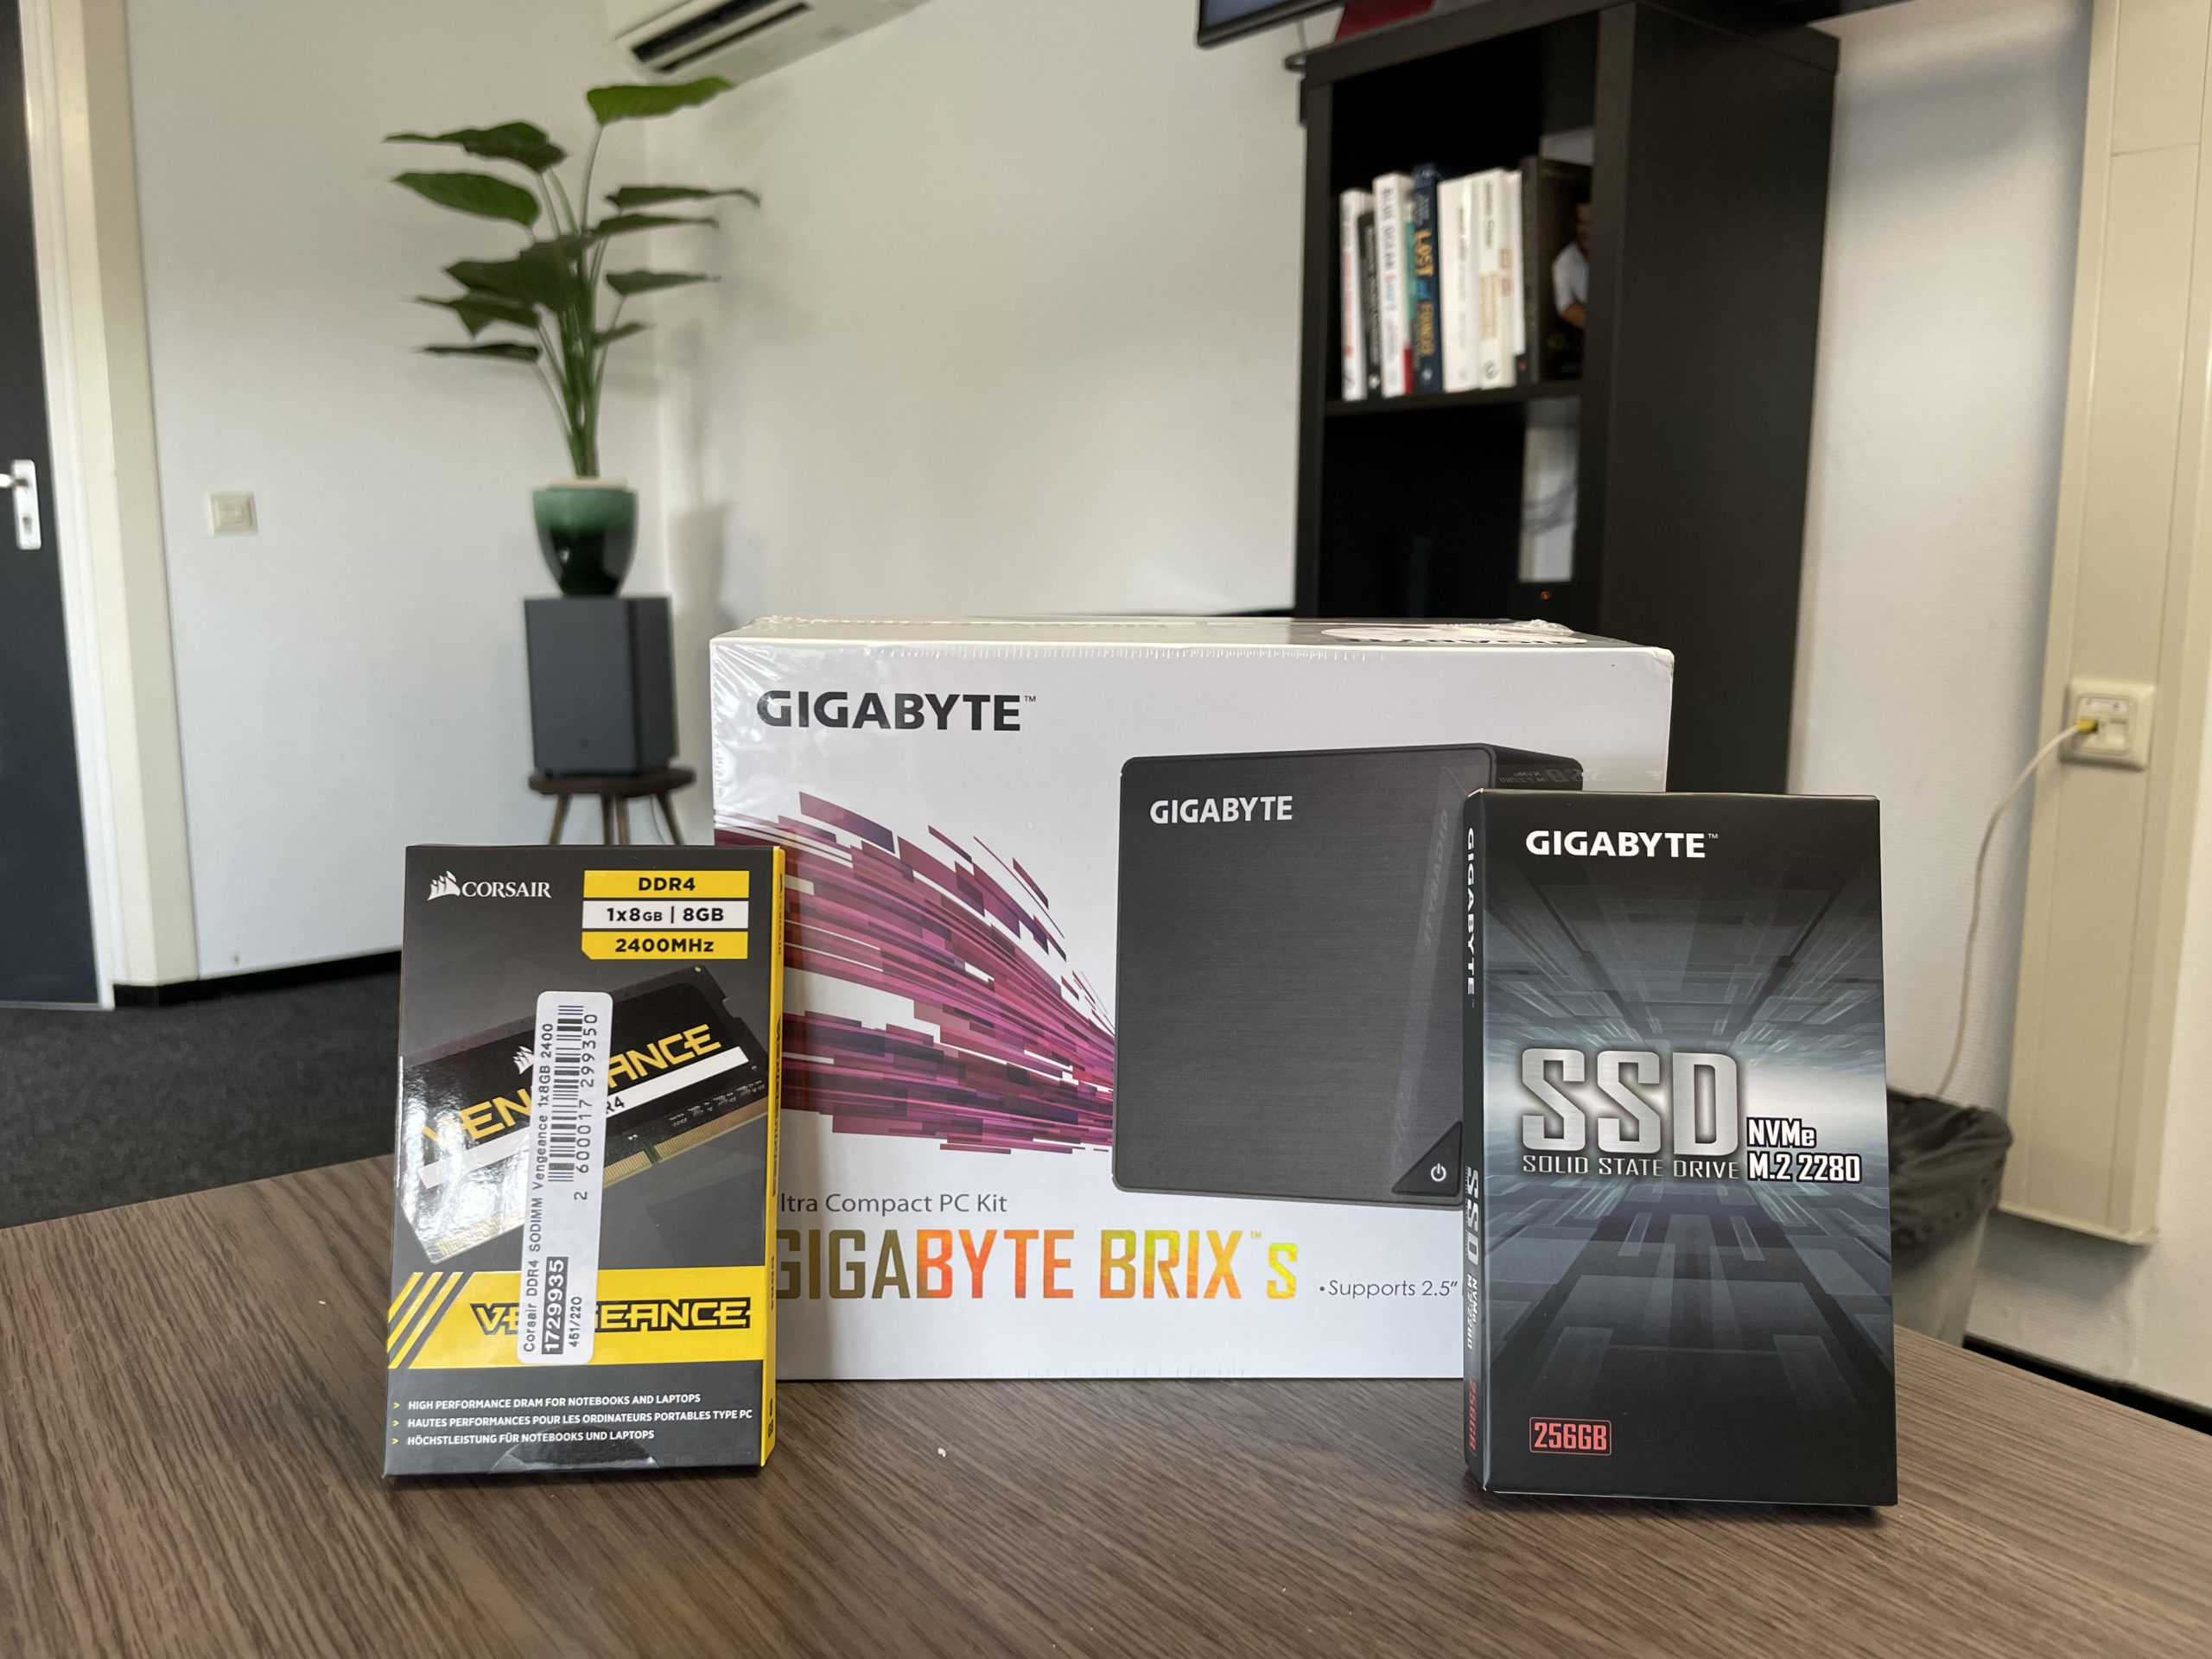
Hey! Here’s the simplified version of Halcyon Part 3. This version is created as a follow-along and will set the foundation for other videos as well. The idea is to eventually have your own mini-server running at home or at the office. But, since purchasing hardware is quite a barrier, I decided to run a sample service in the clouds before going any further.
I’ll keep it simple in here. These are the steps you need to follow, and the video below will help you through.
Steps to follow
- Go to https://try.digitalocean.com/freetrialoffer/
- Confirm your identity with a payment method
- Create a new droplet
- Login to the web console
- Run:
git clone https://github.com/mklasen/halcyon.git - Change to the cloned directory (
cd halcyon) - Install docker https://docs.docker.com/engine/install/ubuntu/
- Install docker-compose https://docs.docker.com/compose/install/
- Run
docker-compose pull - Run
nano /etc/systemd/resolved.confand uncomment and set DNSStubListener to No. - Reboot your droplet by entering
reboot - Run nano docker-compose.yml and change {your_droplet_ip_address} to your droplet’s IP address.
- Run
docker-compose up - Set your computer’s DNS server to use the DNS service provided from your droplet which is your droplet’s IP address.
- Make sure your server it still able to resolve DNS by letting it use our dockerized DNS service: r
un sudo nano /etc/resolv.confand change127.0.0.53to127.0.0.1.
What you’ll do:
- Create a droplet in DigitalOcean
- Login using the web console
- Install docker and docker-compose
- Clone an existing configuration and make small changes
- Set your computer’s DNS server to the droplet
What you’ll learn/experience
You’ll get a glimpse of server configuration, how to create a new droplet in DigitalOcean. You’ll get an idea of how DNS resolution works and you’ll be amazed by the fact that what you type into your browser’s URL bar is actually handled by your own server, that easy. Without any DNS configuration or anything, and only for you.
What’s next?
Next up is your own local setup. It does not make sense so run this on a cloud server. You’ll need speedy access, and you can’t be dependent on the internet for your local DNS requests to resolve.


Leave a Reply